This post may contain affiliate links. Disclosure here.
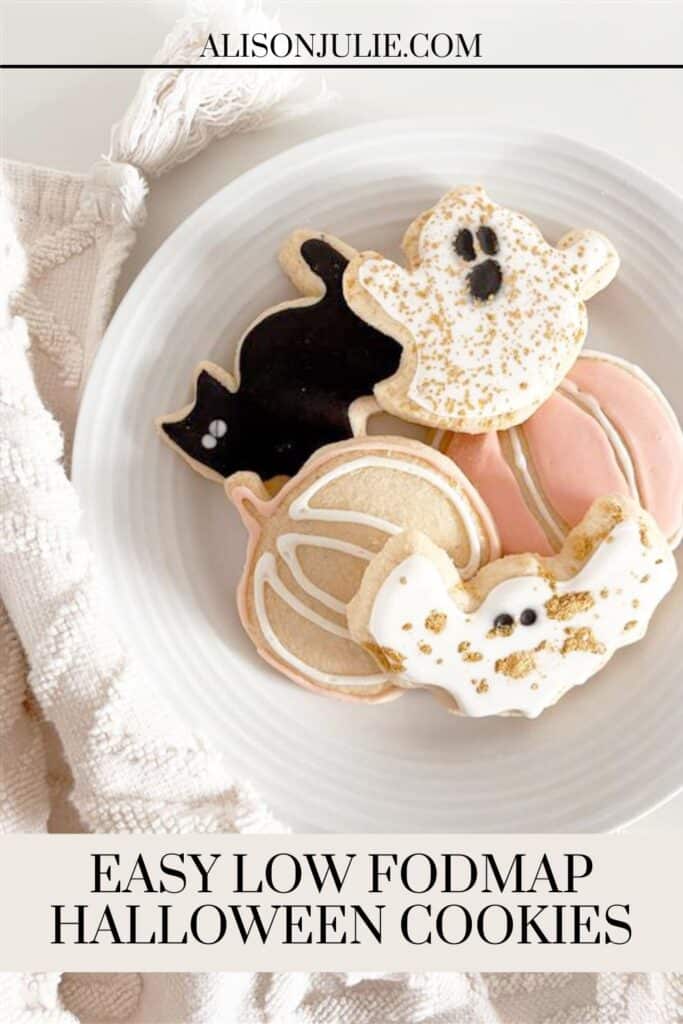
If you’re looking to make some delicious low fodmap Halloween cookies then you’ve come to the right place!
Halloween is just around the corner and there’s nothing I love more than getting into the spooky spirit of things.
A few years ago I made these Healthy Vegan Halloween Cookies and I loved them! This year I wanted to make a different version that was low fodmap.
Cue the easy low fodmap Halloween cookies!
I bought these cute little Halloween cookie cutters specially for these and I couldn’t wait to try them.
I took to the kitchen and got baking straight away!
Ingredients
Biscuits:
200g unsalted butter or butter alternative
200g white caster sugar
1 medium egg, beaten
400g plain flour of your choice, (I use this gluten free one) *plus extra for dusting
Icing:
Royal icing
Food colouring
I used royal icing and made up multiple piping bags of it.
Each bag containing 2 tbsp royal icing with a few drops of food colourings.
The amount of food colouring depended on how vivid I wanted the colours to be.
Peach = I used 2 drops.
Black = I used around 8 drops.
White = I just used the royal icing on it’s own.
You will need to use a few drops of water to get the right consistencies for your outline icing and your flood icing.
You will need your outline icing to be firmer and hold it’s shape.
While the flood icing should be a more liquid consistency to fill the space.
Method
Using a large mixing bowl and electric whisk cream the butter and sugar together.
Continue until it creates a creamy consistency.
Try not to overwork the mixture as it spreads when in the oven!
Beat the egg and mix it into the same bowl.
Add in the flour and whisk on a low setting until a dough forms.
Then gather the dough into a ball and leave to chill wrapped in cling film for about an hour.
Preheat the oven to 190°C, fan 170°C, gas 5.
Remove the clingfilm and place the dough onto a lightly floured surface.
Kneed the dough a little and then roll out into a 3mm thickness.
Using cookie cutters or a knife cut out your desired shapes.
Place them gently onto a parchment lined baking tray.
Bake in the oven for around 12-14 minutes depending on the size of your biscuits.
They should now have a golden brown tint along the edges.
Remove from the oven and place on a wire rack to cool.
Once the biscuits are cool it’s time to start decorating!
Outline Icing:
Mix your desired food colouring with the royal icing.
Add only one or two drops of water to create your outline icing.
Add it to a piping bag and seal well.
Flood Icing:
Mix your desired food colouring with the royal icing.
Add a few drops of water to create your flood icing.
You want the consistency to be a little more fluid than the outline icing.
Leave the flood icing in a bowl covered with a damp tea towel for around 10-15 minutes.
This allows the air bubbles to rise to the surface.
Then using a teaspoon gently stir the mixture to pop the bubbles.
Add to a piping bag and seal shut.
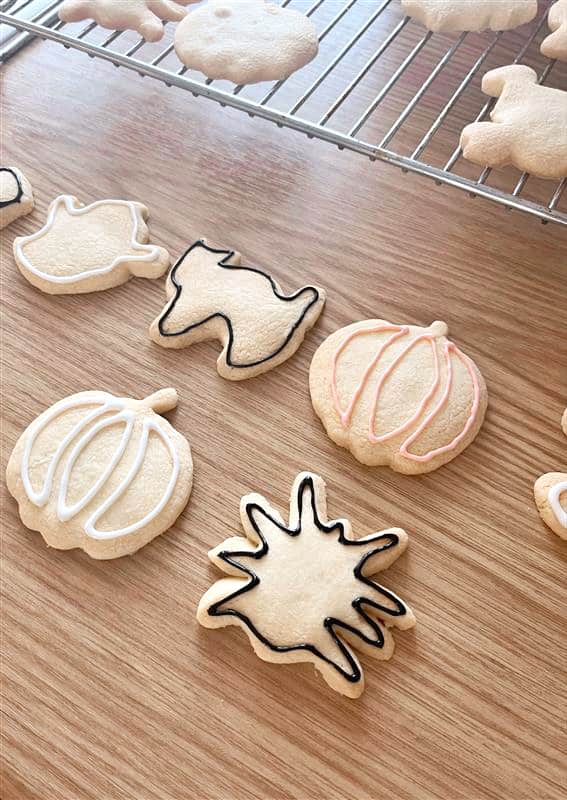
Cut a small hole in the top of you outline piping bag.
Now you can begin to draw the outline on your biscuits.
Once this has started to set cut a hole at the tip of your flood icing bag.
You can now fill in the shape with your flood icing.
Leave to set.

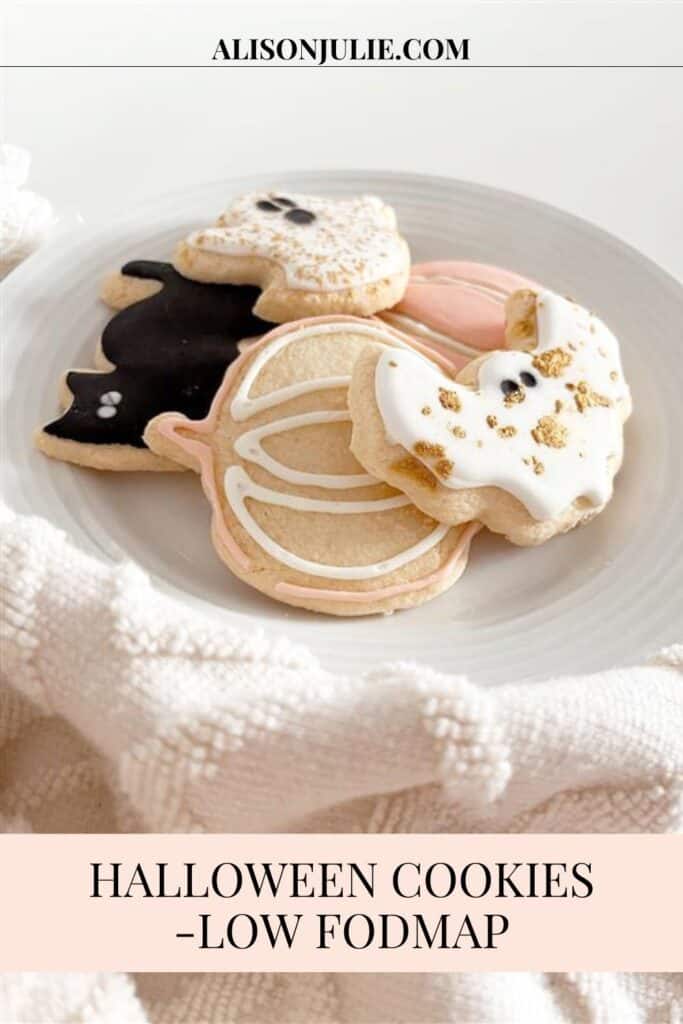
My favourite part of making these was decorating with the icing and adding different food colourings to make the colours.
I also added some sprinkles of gold powdered food colouring which gave a gold fleck effect.
Happy Halloween Baking!

Easy Low Fodmap Halloween Cookies
Homemade Halloween cookies that are low fodmap friendly and very versatile for gluten or dairy free diets.
Ingredients
- 200g unsalted butter or butter alternative
- 200g white caster sugar
- 1 medium egg, beaten
- 400g plain flour of your choice, (I use this gluten free one) *plus extra for dusting
- Royal icing
- Food colouring
Instructions
1. Using a large mixing bowl and electric whisk cream the butter and sugar together.
Continue until it creates a creamy consistency.
Try not to overwork the mixture as it spreads when in the oven!
2. Beat the egg and mix it into the same bowl.
3. Add in the flour and whisk on a low setting until a dough forms.
4. Then gather the dough into a ball and leave to chill wrapped in cling film for about an hour.
5, Preheat the oven to 190°C, fan 170°C, gas 5.
6. Remove the clingfilm and place the dough onto a lightly floured surface.
7. Kneed the dough a little and then roll out into a 3mm thickness.
8. Using cookie cutters or a knife cut out your desired shapes.
9. Place them gently onto a parchment lined baking tray.
10. Bake in the oven for around 12-14 minutes depending on the size of your biscuits.
11. They should now have a golden brown tint along the edges.
12. Remove from the oven and place on a wire rack to cool.
13. Once the biscuits are cool it’s time to start decorating!
Outline Icing:
1. Mix your desired food colouring with the royal icing.
2. Add only one or two drops of water to create your outline icing.
3. Add it to a piping bag and seal well.
Flood Icing:
1. Mix your desired food colouring with the royal icing.
2. Add a few drops of water to create your fill icing.
3. You want the consistency to be a little more fluid than the outline icing.
4. Leave the flood icing in a bowl covered with a damp tea towel for around 10-15 minutes.
This allows the air bubbles to rise to the surface.
5. Then using a teaspoon gently stir the mixture to pop the bubbles.
6. Add to a piping bag and seal shut.
Cut a small hole in the top of you outline piping bag.
Now you can begin to draw the outline on your biscuits.
Once this has started to set cut a hole at the tip of your flood icing bag.
You can now fill in the shape with your flood icing.
Leave to set.
Notes
I used royal icing and made up multiple piping bags of it.
Each bag containing 2 tbsp royal icing with a few drops of food colourings.
The amount of food colouring depended on how vivid I wanted the colours to be.
Peach = I used 2 drops.
Black = I used around 8 drops.
White = I just used the royal icing on it’s own.
You will need to use a few drops of water to get the right consistencies for your outline icing and your flood icing.
You will need your outline icing to be firmer and hold it’s shape.
While the flood icing should be a more liquid consistency to fill the space.
These Halloween cookies look amazing! I have to admit that the fodmap is a new thing for me, but I have researched a bit and am very intrigued. I am anxious to give this recipe a try!
P.S. I love everything Halloween too! Thanks for the great recipe!
Thank you Michelle I’m so glad you’re eager to try them. Low fodmap is helpful for anyone who might be struggling with gut issues, but this recipe is also a pretty standard biscuit recipe so it’s perfect even for people for have no gut problems. Hope you enjoy x
Okay these are seriously the cutest! I absolutely love how you’re taking something traditionally not great for you (cookies in general) and adapting recipes to the way you like to eat! That’s a huge passion of mine too, I’m always trying to make healthier versions of old favorites. Because our health (our food intake specifically) is crazy important to our overall wellbeing, yet we don’t want to deprive ourselves of comfort foods! What a great post 🙂
Thank you so much Skye. I agree our diet is super important as is our gut health too. This is a basic general biscuit recipe but I wanted to highlight that it’s also low fodmap friendly for anyone who suffers with digestive/gut issues as I do 🙂 I do also love using very versatile and adaptable recipes as there is never a one size fits all for everyone! Hope you enjoy x
These cookies are adorable. I love the soft, muted colors you used. I have to admit that I had to google what low fodmap is. I had never heard the term. Now I think I might need to eat that way!
Hi Carrie, so glad you like these biscuits! Low fodmap is helpful for anyone who may be struggling with gut/digestive issues. However if you are thinking of starting a low fodmap diet I recommend getting advise from a specialist so they can help alongside. Hope you find it helpful 🙂 x
Those cookies look awesome. I need to figure out which sugar substitute to us so I can make them.
Hi Chantal, I’m not sure what type of alternative you would need but I have often used coconut sugar in baking before and it works really well. Happy baking! x
I love this recipe for Halloween Cookie roadmap . I am going to recreate thank you for sharing
You’re so welcome Linda, happy baking! x
I never dreamed I would want to try VEGAN Halloween cookies! But I’m actually a fairly big fan of gluten free baked goods; so these shouldn’t be that much different! They look amazing, but I bet they taste just as good. Thanks so much for sharing! I’ll try making them for Halloween this year!
Oooh yes I recommend giving them a go, so delish x